
Simple to install. Built to last.
Set the socket in a concrete or gravel footing, drop in the post, and align to the fence line. No special tools Req’d.
- No special tools
- Concrete or gravel footing
- 4×4 and 6×6 posts

Four easy steps.
Whether you’re building a privacy fence, picket fence or gate, the process is the same. Here’s how to install Post ProTec.
 1
Prepare the footing
Dig your post hole to the required depth.
 2
Set the socket
Place the Post ProTec socket in the hole, make sure it’s level and secure it with concrete (or compacted gravel).
 3
Insert the post
Place your 4×4 or 6×6 wood post into the socket.
 4
Finish and align
Let the concrete cure, backfill if needed, and align your fence.
Concrete or gravel.
Concrete is recommended, but other footing materials such as Gravel will suffice. Backfilling with soil is not recommended but still possible when using the Post ProTec sockets.
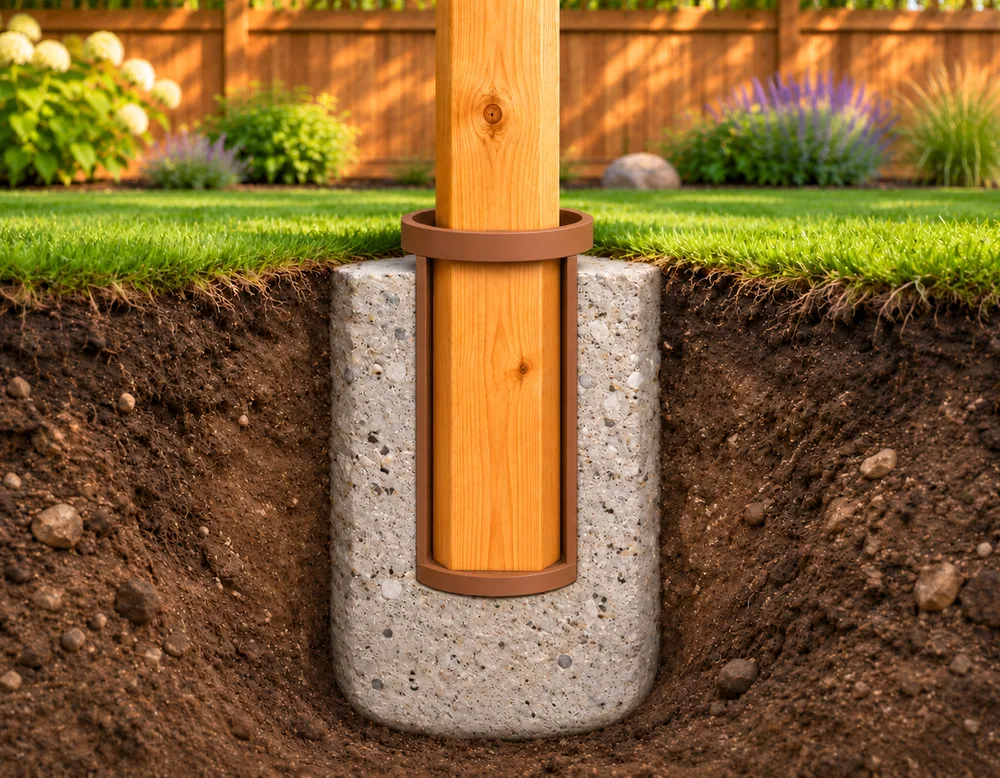
Concrete footing
Recommended.
- Best for most applications
- Solid, long-lasting support
- Recommended for gates and high-stress areas
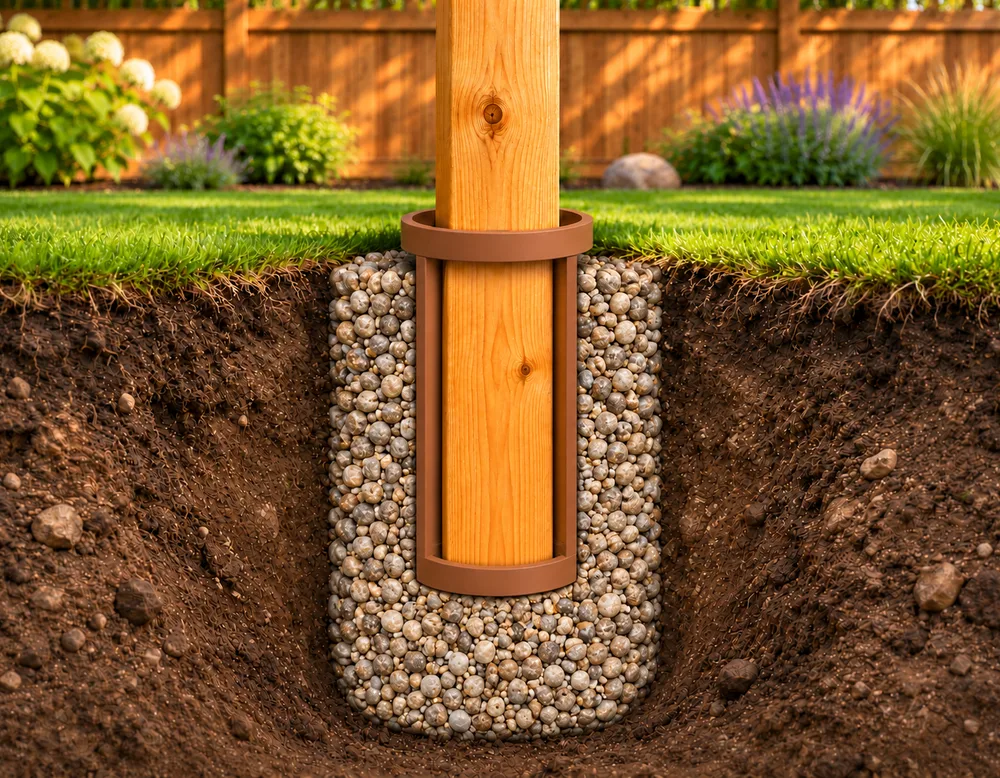
Gravel base
Will suffice.
- Faster and easier to install
- Excellent drainage
What you’ll need.
 Post ProTec socket
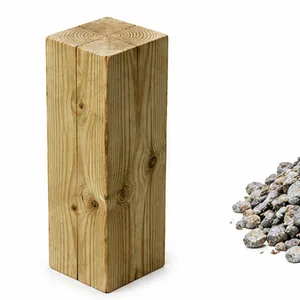 Wood post (4×4 or 6×6)
 Gravel (for a gravel footing)
 Concrete mix
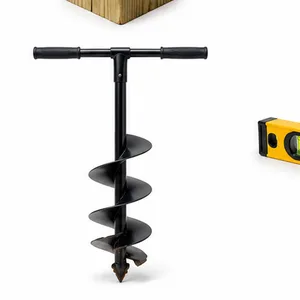 Shovel or auger
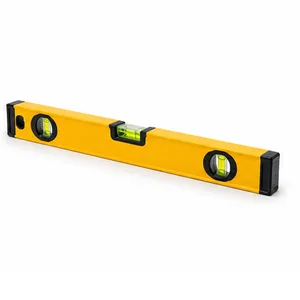 Level
 Tape measure
A few tips for the best results.
- Use treated lumber for best performance.
- Make sure the socket is level before concrete sets.
- Set the socket 2 in. above the ground line and 22 in. below it.
- Allow concrete to cure fully before attaching your fence.
- Choose 6×6 sockets for gates, corners and taller fences.
- Always check local building requirements.
Need more detail?
A full installation sheet with measurements and diagrams is on the way. Until then, ask us anything about your project.